Getting started
Quick start
How to use Eureka Codes
Eureka Codes User Guide: Using the Pro Plan
1. Login

- Please log in with your Google account.
2. Getting Started with Workspace

- Workspaces serve as the basic unit for managing your projects.
- When you log in, a default workspace is already created for you, so you can start using it right away without any additional setup
- If you'd like to add a new workspace, you can simply click the "Add Workspace" button on the right side.
3. Create a New Workspace
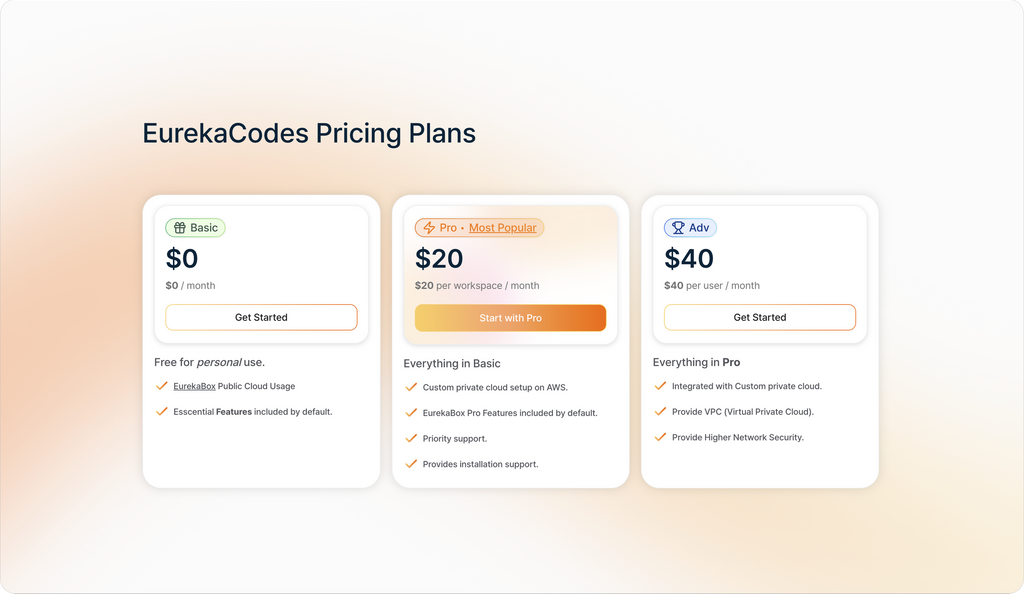
- There are three types of workspace plans: Basic, Pro, and Advanced.

- Please add a payment method before creating a Pro Plan workspace.
- When you click the "Add Card" button, it will take you to the card registration screen.

- Enter your email, card number, and other information to complete the registration.
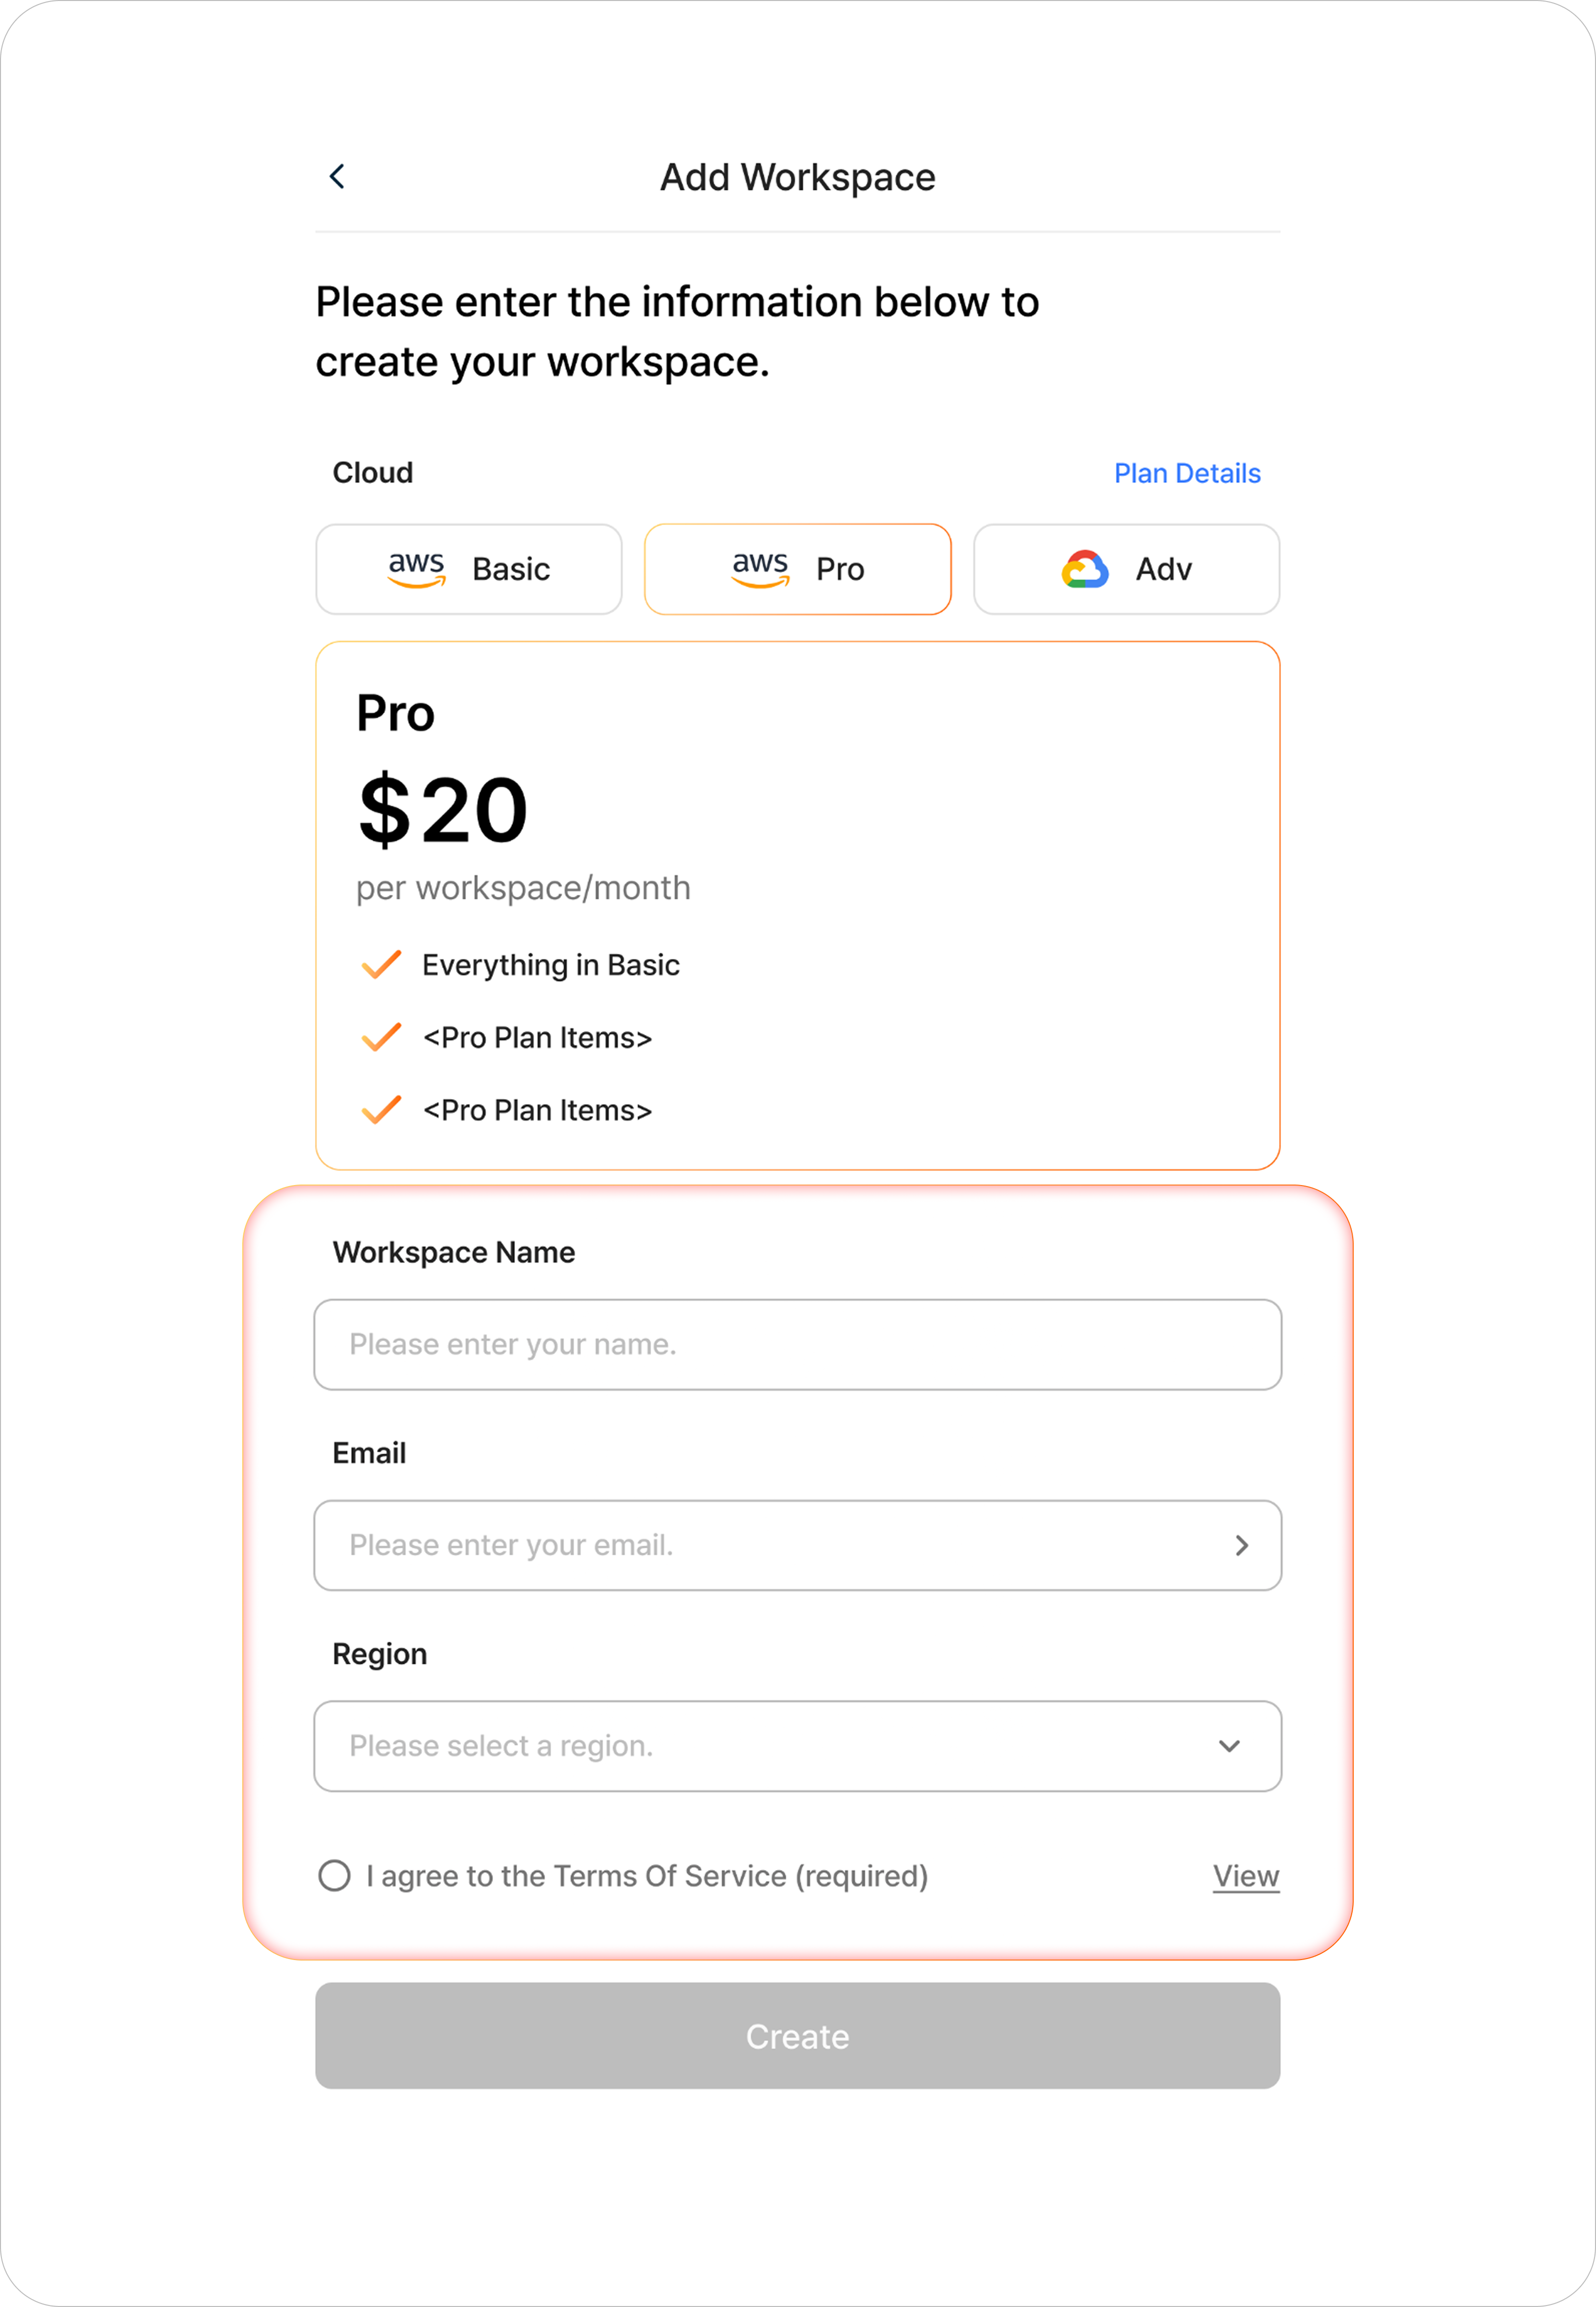
- Go back to the workspace registration screen and enter the required information.
- You need to specify the workspace name and AWS region, and email verification is required.

- Please verify your email address (a valid email is required).

- After you complete email verification, please select a region.

- All the information must be entered, and if you select "Agree to the Terms of Service", the button below will be enabled.
- Click the activated button to complete the workspace creation.
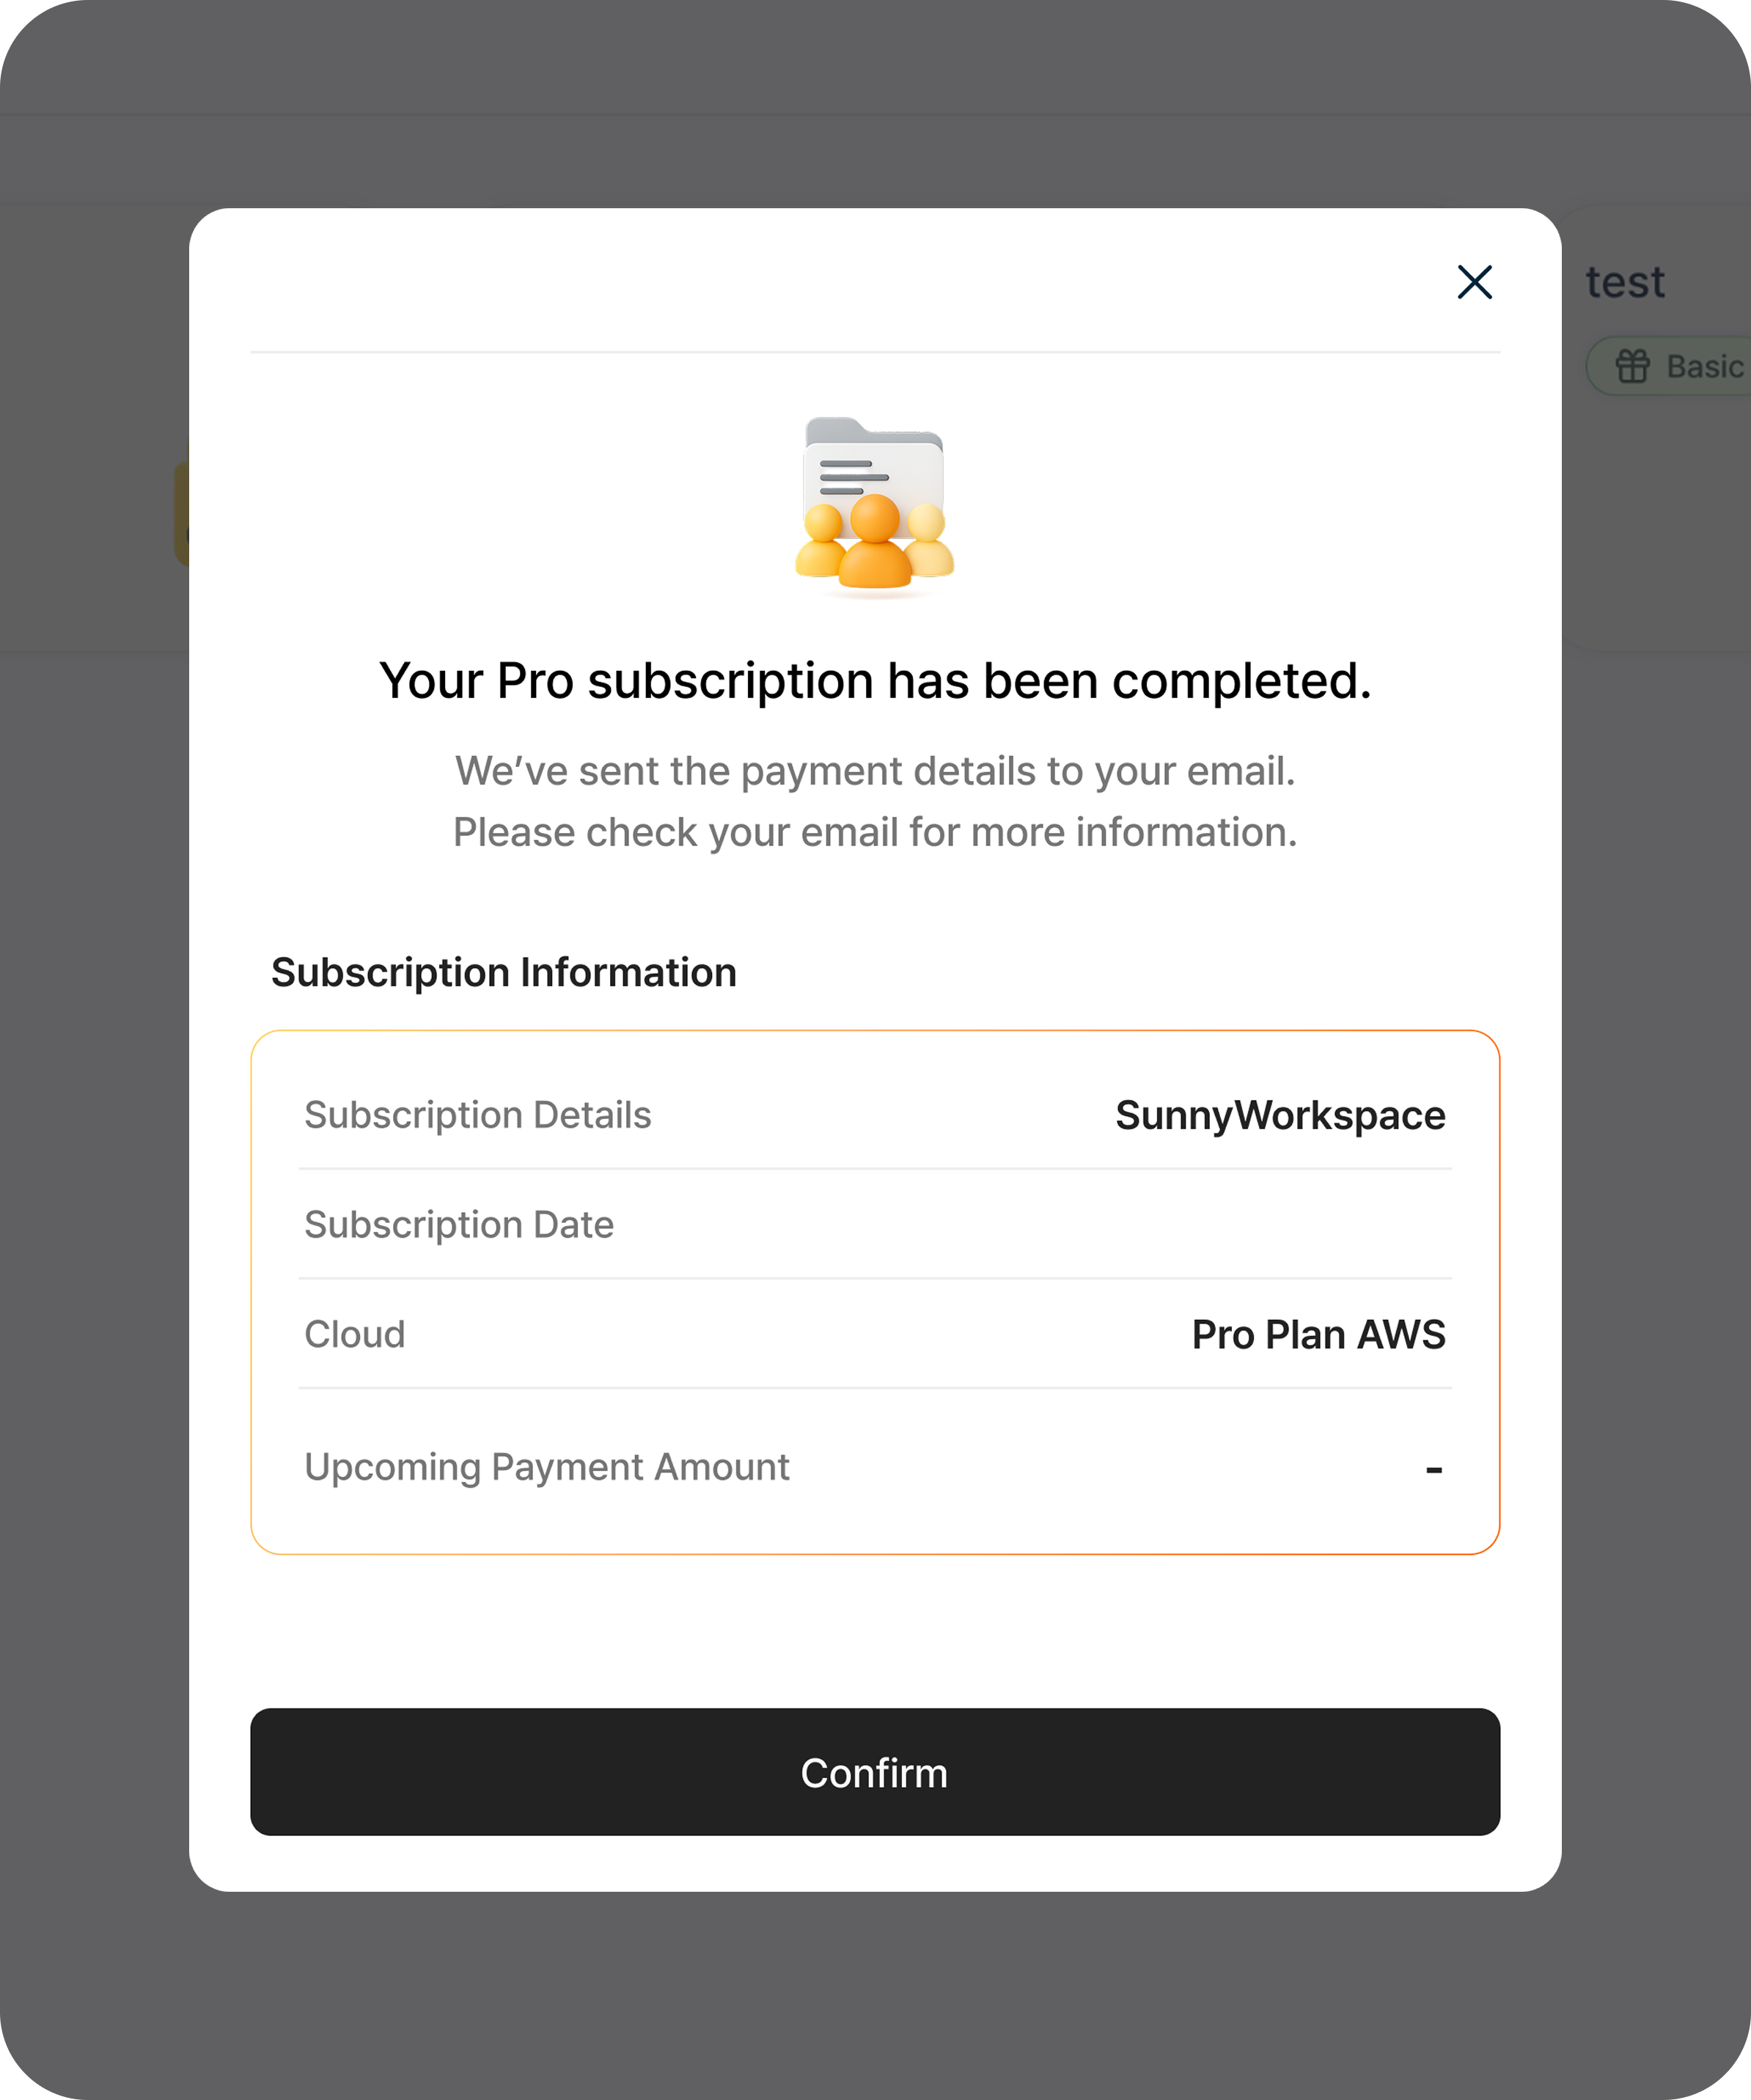
- Please check the workspace information you created.
4. Create Project

- To use the service, please create a project.
- Please click the "Add Project" button.

- Check the details entered during workspace creation, choose a stage (development or production), and proceed to create your project.

- You can request the services you need from the catalog list.